How to choose a checkout barcode scanner
How to choose a checkout scanner: receipt flow, 1D or 2D, handheld or bioptic, interface, on-screen codes, protection, wired or wireless, and integration with till software.
The checkout scanner works without a break: it sets the speed of the queue and, indirectly, the number of pricing errors. A model chosen for its looks or its lowest price makes itself felt every day. Below is a selection order for retail; the full range is in the barcode scanner catalogue.
1. Start with the receipt flow
Without a simple estimate of the load there is nothing to compare models against. Write down:
- How many customers pass through the till per hour at peak times
- How many items an average basket holds and how many are scanned one by one
- What is read: shelf labels, glossy packaging, bags, bottles, clothing
- How much free counter space there is and who works the till (a cashier or a self-service customer)
- Whether documents, loyalty cards and coupons are scanned at the same till
At a low load a solid handheld scanner is enough. With long queues, reading speed matters, as does keeping both of the cashier's hands free.
2. 1D or 2D codes
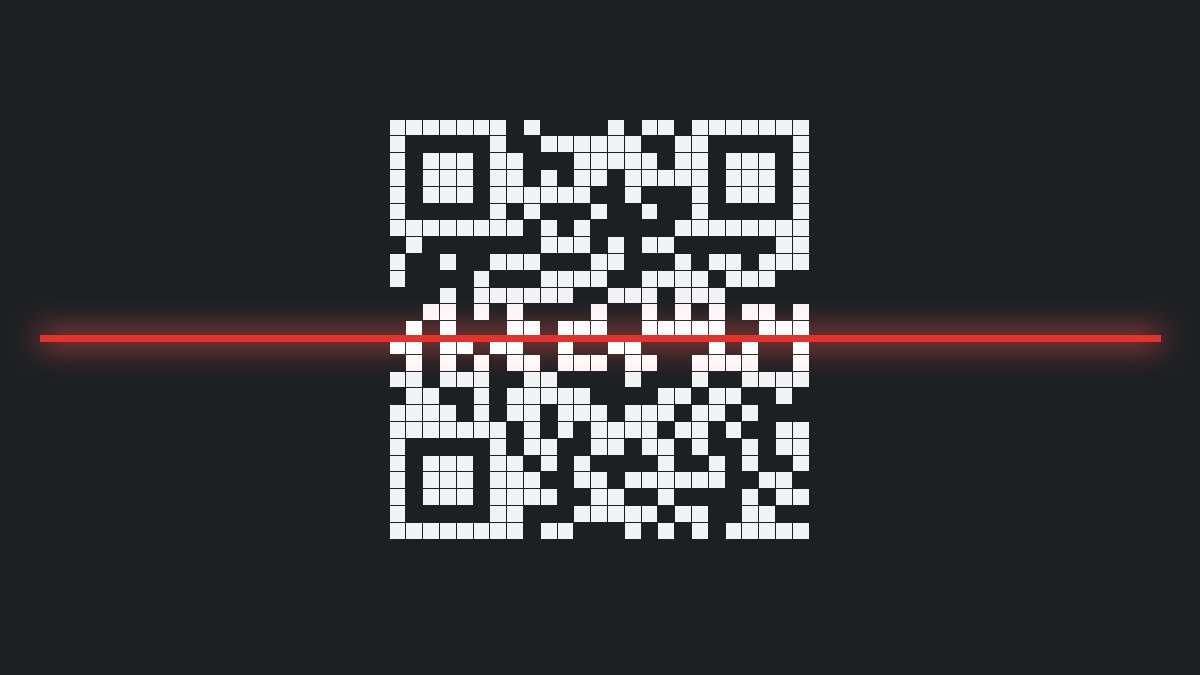
If your packaging only carries EAN, a 1D scanner still copes. But the till increasingly reads codes from phone screens, coupons, tickets and QR payment codes. These need a 2D imager. In short: for a new till choose 2D; the arguments are in the guide 1D or 2D: what to choose in 2026.
3. Scanner type: handheld, presentation or bioptic
| Type | How it is used | Best for |
|---|---|---|
| Handheld | The cashier picks up the scanner and aims it at the code | Small shops, large or heavy items, several scanning points |
| Presentation (hands-free) | The product is passed in front of a fixed scanner | Medium flow, small items, compact counters |
| Bioptic (built into the counter) | Reads from below and from the side, usually with a scale | Supermarkets, high flow, small items, fast work |
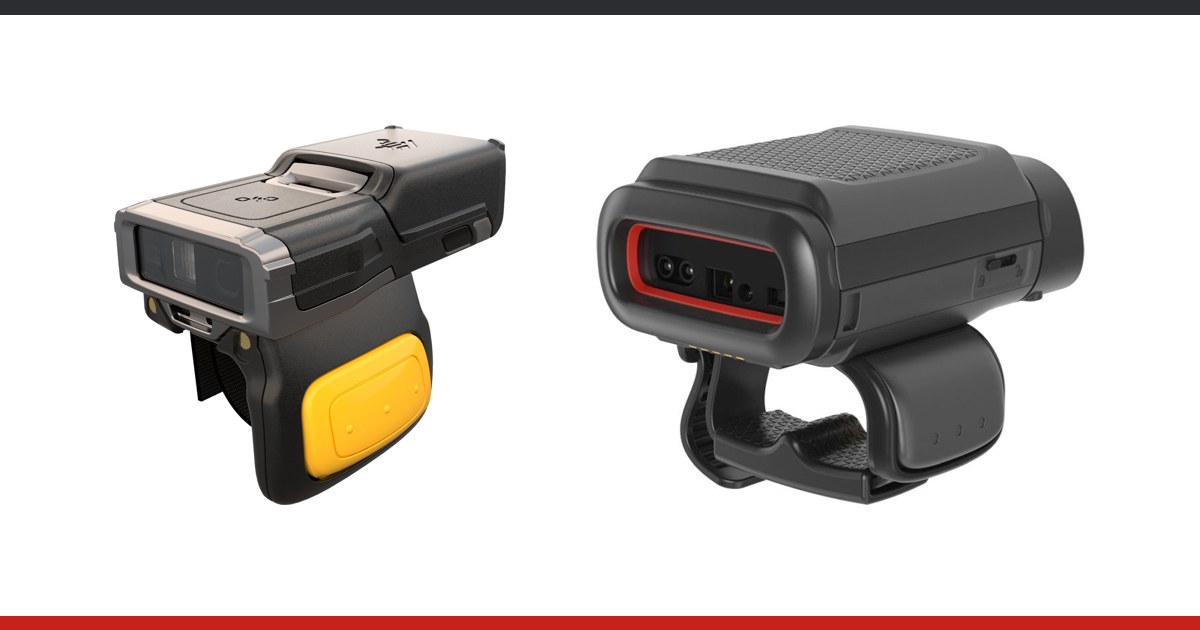
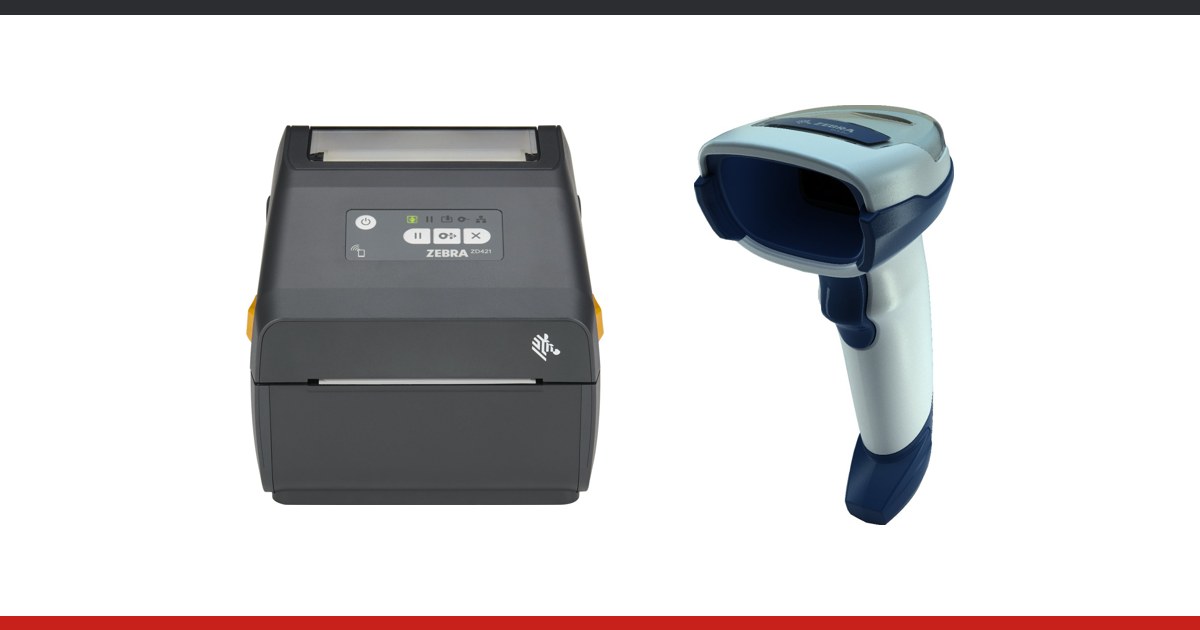
Example lines: Zebra DS4600 and DS8100 (handheld, retail), DS9300 (presentation), MP7000 (bioptic scanner-scale); Honeywell Voyager, Genesis 7580g, Orbit and Stratos; Datalogic Gryphon, Heron and Magellan. Compare by process, not by name.
4. Interface and stand
The scanner must connect simply to the till or POS. USB is used most often; older tills have RS-232 or keyboard emulation. Check the cable (long, flexible, replaceable) and whether a stand or holder is available: a scanner in a stand gets lost less often and breaks less easily. For hands-free work, the stand also enables the automatic code detection mode.
5. On-screen codes and coupons
Customers often show a code on a phone: a coupon, a loyalty card, a digital receipt. The screen is bright and may carry a protective film, so the scanner must read well on light-reflecting surfaces too. Practical details are in the article scanning from a phone screen and mobile coupons. If you also need applications on the device, see terminale-mobile.md.
6. Marking and weighed goods
For goods with mandatory marking or DataMatrix codes on the packaging you need a 2D imager and till software that recognises them. The exact marking requirements are checked separately, at implementation time.
Weighed goods (vegetables, cheese, meat) come with labels carrying a special prefix or with connected scales. A bioptic scanner-scale reduces the number of devices at the till, but needs the weight code format configured correctly in the software.
7. Reliability and protection
At the till the scanner is dropped, wiped, splashed and exposed to packaging dust. Ask about the protection rating (IP54, IP65 or IP67 as general classes), drop resistance onto concrete according to the manufacturer's data for the specific model, and the reading window: on bioptic and presentation scanners it gets scratched and can be replaced. For a high-traffic shop a rugged model costs less in the long run than frequent replacements.
8. Wired or wireless
At a fixed till a cable is usually the safer option: no battery, no pairing. Wireless (Bluetooth) is useful when the cashier has to scan bulky items or when work happens on the shop floor, during stocktaking or at off-till receipts. Do not forget the charging base and a spare battery. For range and battery life see wireless Bluetooth scanners: range and battery.
9. Integration with till software
The scanner must suit the till program. Check:
- Whether the program accepts keyboard emulation or needs a driver
- Whether a prefix and suffix can be added, for example to tell the scale from the scanner
- Whether all the formats you use (EAN, QR, DataMatrix) are enabled in the scanner
- Who does the initial setup and how to copy settings to several tills
A configuration can be saved in a programming code and applied quickly to all tills.
10. Checklist before ordering
- Customer flow and till type defined
- Type chosen: handheld, presentation or bioptic
- 2D for on-screen and small codes
- Interface and cable match the till
- Stand or holder included
- Wired or wireless, with a battery and base where needed
- Test on your own labels and packaging
- Protection and ruggedness suit the work area
- Delivery times: in stock – shipped the next business day; on order – delivered within one week of payment
- Service, spare parts
How to proceed
1. Describe the flow at the till and the types of codes read. 2. Pick two or three models from the Zebra, Honeywell or Datalogic lines. 3. Test them on your real products, at the till, not on an office desk. 4. Settle the configuration and cashier training.
For retail you can also see the retail solutions page, and for an offer write to us a few lines about your shop.