Barcodes that scan on the first try: printer, label, scanner
How to choose the printer, the label and the scanner together so nobody has to rescan: contrast, module size, quiet zone, glare and a simple pilot check.
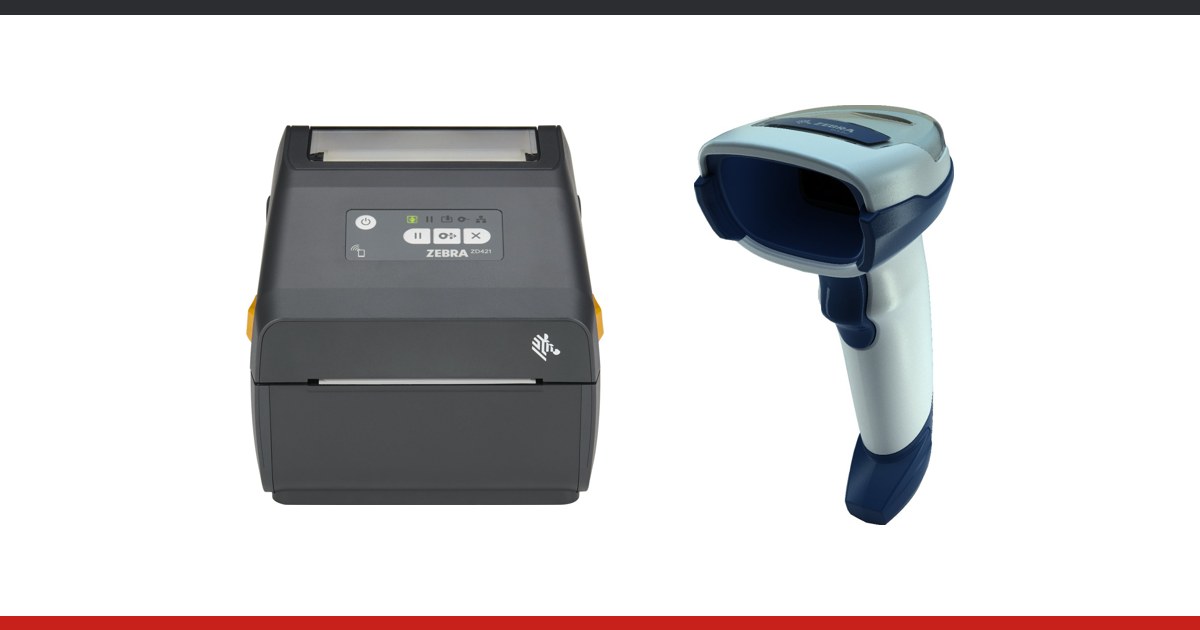
A barcode that scans on the second or third attempt costs time on every shift: the operator rescans, changes the angle, and then types the digits by hand. Most of the time the scanner is not to blame. The chain has three links, the printer, the label and the scanner, and trouble starts where they were chosen separately.
Where the first-time read gets lost
It helps to check in the order the code is produced:
- Printing: weak contrast, bars that are too thin or too thick, white streaks from a dirty print head
- Size: a module (the width of the narrowest bar) too small for the printer resolution
- Label: glossy stock that reflects light, or a curved or wavy surface
- Quiet zone: text or the label edge sitting right next to the bars
- Reading: the distance and angle at which the operator really holds the scanner
Contrast and print method
A scanner does not see "black on white". It sees the difference in reflectance between bars and background. Pale, grey or bleeding bars reduce that difference. The usual causes are a worn or dirty print head, a temperature that is too high (bars thicken) or too low (bars fade), and a ribbon that does not suit the material. With direct thermal printing the code fades over time, especially with heat and light. The two methods are compared in the article on direct thermal versus thermal transfer on imprimante-etichete.md.
The background matters as much: a coloured label or a pattern under the code lowers contrast even when the print itself is perfect.
Module size and printer resolution
One print head dot is about 0.125 mm at 203 dpi and about 0.085 mm at 300 dpi. A module width is a whole number of dots. If the requested value does not divide evenly, the printer rounds it, and the ratio between wide and narrow bars drifts. For small, dense codes with modules of two or three dots, that rounding shows up in scanning. In short: on a small label with a dense code, higher resolution helps; when there is room, a wider module is safer than a fine narrow one. More detail is in the piece on 300 or 600 dpi.
Scanners have limits too. The datasheet of the Zebra DS2208 shows how much distance depends on module size: UPC with a 13 mil module reads from 1.27 to 36.8 cm, while Code 39 with a 5 mil module reads only from 0.5 to 15.2 cm. A small dense code forces the operator to hold the scanner close and straight.
Quiet zone, material and shape
Every code needs a clear area to the left and right with nothing printed in it. When text, a label edge or a border comes close to the bars, the scanner cannot find where the code starts. A practical rule for label design: leave generous margins around the code and put explanatory text below or beside it.
The material affects reflections:
| Situation | What happens | What to check |
|---|---|---|
| Matte paper | Stable reading at any angle | White background, no pattern |
| Glossy film or laminate | Direct reflection of the scanner light | Scanning with the scanner slightly tilted |
| Label on glass, foil or corrugated box | Curved code, distorted bars | Surface radius against code length |
| Label under pallet wrap | Glare and haze | Reading through the film in real conditions |
A long code on a thin cylinder is harder to read than a short one, and a bent corner or a crease in the film can cut across a bar.
Distance, angle and the scanner actually in use
With standard-range 2D imagers the comfortable distance runs from a few centimetres to a few tens of centimetres; beyond that the model matters, not only the code. If operators scan shelves from shoulder height, test a long-range model. 1D and 2D scanners behave differently on damaged codes; the comparison is in the 1D or 2D guide.
The key rule: check the code on the same scanner that will work in the warehouse or the shop. A perfect result on a monitor, or a read by a phone, guarantees nothing for an industrial scanner, and the other way round.
A three-step pilot
- Print 20-30 labels on the real printer and the real material, not on a test sheet
- Scan each label from three positions: straight on, tilted, and at the longest working distance
- Mark the labels that need a second try and look for the cause: contrast, module, quiet zone or reflection
If only some labels need a retry, the cause is usually the print or the material, not the scanner. Repeat the check when you change the label roll or the ribbon. What to print on warehouse labels for pallets and bin locations, and what to read them with, is covered in the piece on labels for WMS and inventory at imprimante-etichete.md, and desk printers are listed in the desktop printer category.
Conclusion
First-time reads come from choosing the printer, the label and the scanner together and checking the code in real working conditions. For handheld scanners suited to checking and daily work, see the handheld scanner catalogue. Request a quote and we will help you pick a model for your codes and labels.